
There are a lot of things going on under the dash that are easy to forget about. Wipers are a good example. It turns out this is another engineering marvel, which translates into a pain to re-install.

When I first pulled this out of the pile, I wasn’t quite sure what it was. Then I noticed the ends of the arms with their paint from the previous paint job and recognized what must have been where the wiper arms attach. Curious little floppy arms. Oddly enough, it turns out that it all makes sense. Once you install it.
It wasn’t in bad shape, having been sitting under the dash, untouched for 50 years. I don’t know if the motor actually works yet, but that will have to wait until I have a wiring harness again. I took a few documentary shots before I started taking it all apart. The arms stamped with ‘right’ and ‘left’ was a good clue to take pictures. Good thing I did because even 2 hours later, it was hard to remember which way things went.
I just cleaned it up, painting the motor housing and the mounting bracket. I used some 0000 steel wool on the bare metal parts and called it a day. Even then, I couldn’t get to all of the previous over-spray cheap paint job remnants. It shouldn’t matter as it will be covered by the wiper arms. You might notice the little hook on the side isn’t back in place. The screw took flight in my garage and disappeared. I need to find a new one and get that put on. I am assuming it’s a wiring harness retainer of some sort, but Ford had to put it there for a reason, so I should too.


Mounting it was not complicated, but a bit difficult, mostly because of the under dash reaching while holding up the assembly, trying to thread a bolt at an odd angle. For dash assembly, I am glad I did this part nearly first and there was next to nothing extra to get in the way. Otherwise, this would have been real annoying.

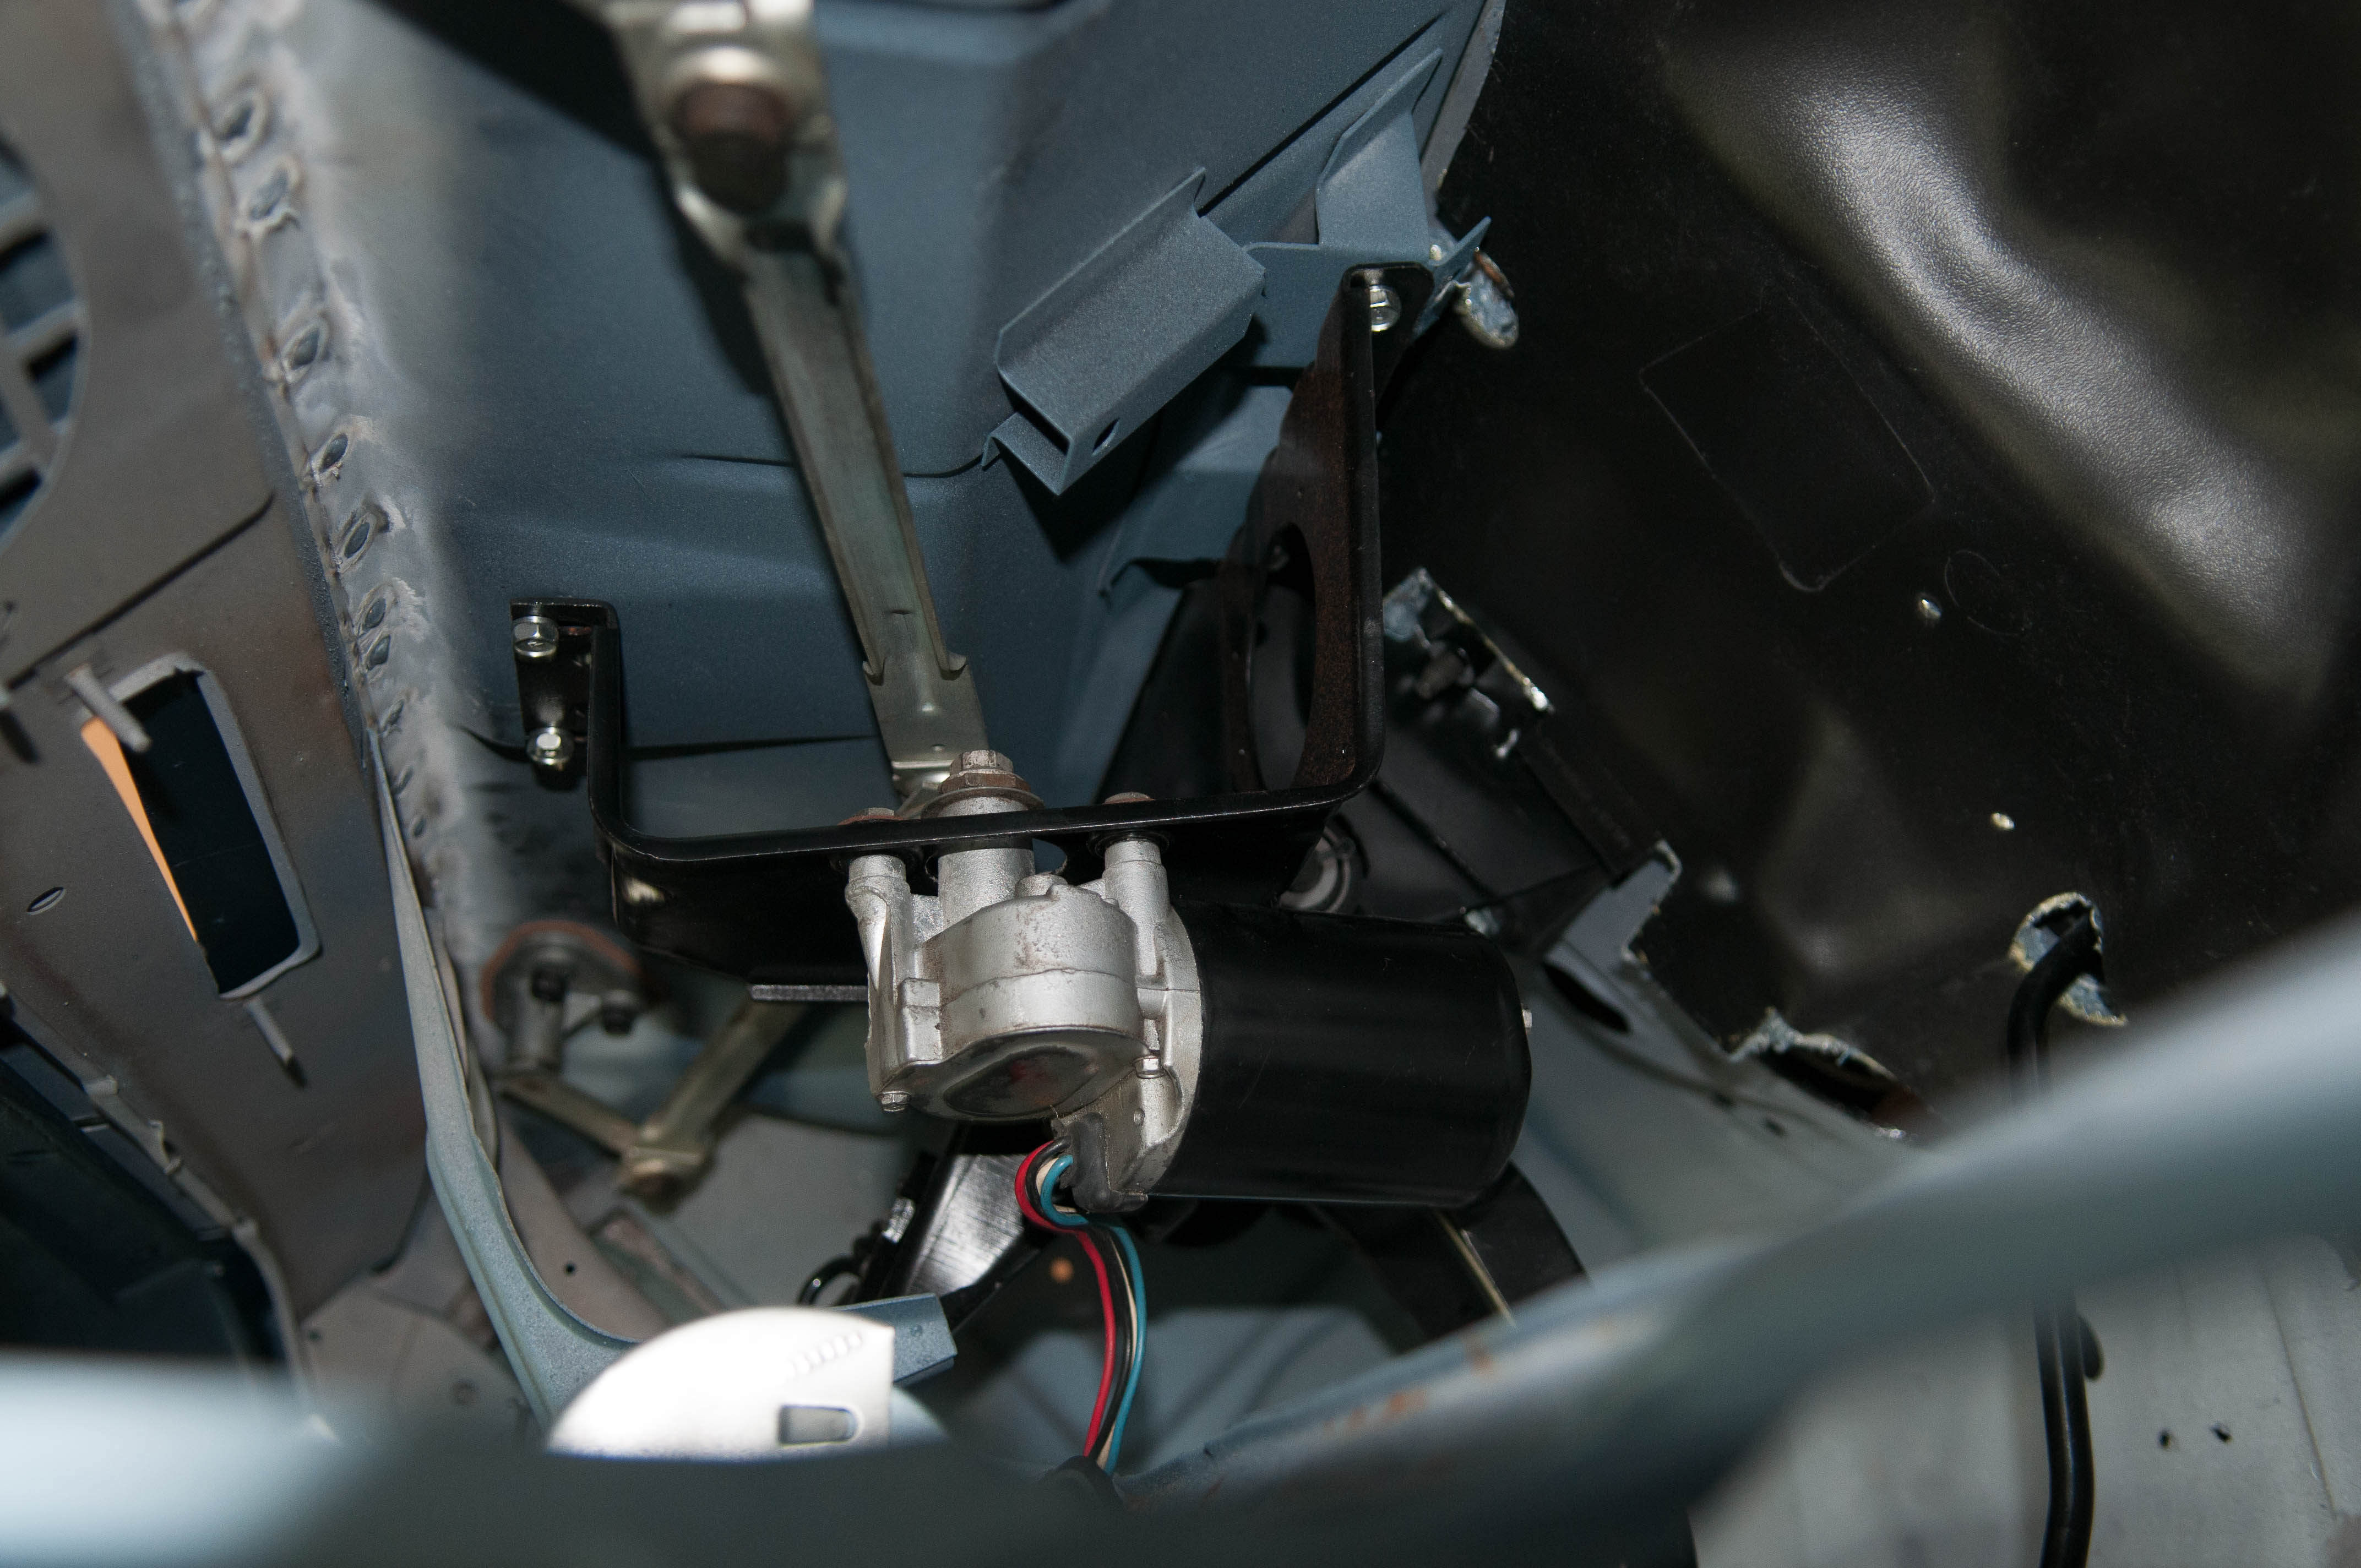

I mounted the motor bracket first, then onto the arms. They went in fine, with enough flex to get pushed into the cowl holes even with the motor locked in. To make installing them easier though, I did push each bolt into the leather gasket which held it in place fine. that made it possible to line everything up to get the bolts threaded and seated.
I did have a tough time reaching around things to get all of the bolts tightened down. New tools came into play. I picked up a ratchet closed wrench set for areas like this where a socket wont reach, and there is no way I am going to try to turn and take the wrench off every 30 degrees of the bolt. Sanity retained.
One more piece out of the incoming pile and onto the car. The pile is getting smaller, with mostly just dash items. The big things left are the console itself, and the heater box and associated components. Both big projects, best done with wheels on the ground.
