
Making the push to get the front end done and all of the major parts attached to the car again. And for that matter, making it look like a car again. The last big pieces are the bumper and the valance.
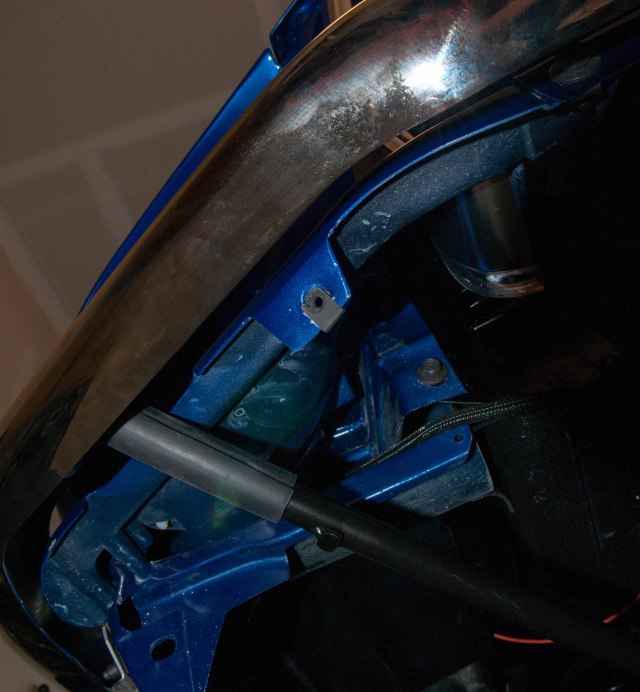
Next, I turned my attention to the bumper. The bumper bracket mounts here to the frame rail extension in the front. I used my thread chasers to clean out the threads as they look a little suspicious and probably full of junk.
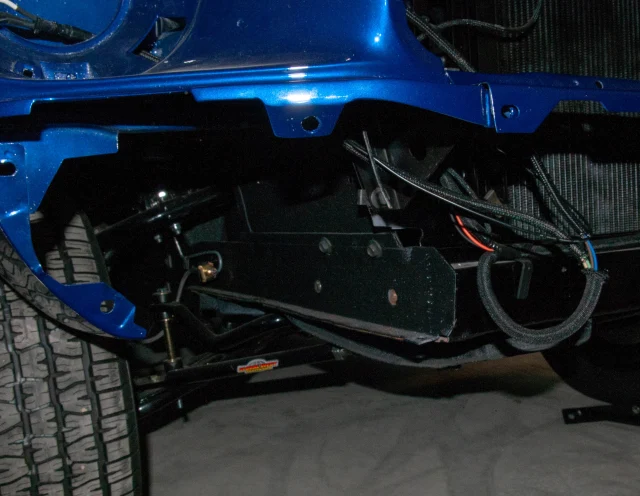
The passenger side bumper bracket fit well. I made sure to leave it loose while I am framing things up. Once it’s all in place I will start tightening it down. The driver side bracket had one of the bolt holes misaligned, so I had an excuse to get a new tool with an overnight Amazon Prime angle grinder. After a little tuning, it went in as well.
When evaluating how the bumper brackets looked, I noticed I missed one of the bolts on the stone guard. Don’t forget these, or once the bumper is in place, it will be forgotten forever. Not that they seem like they are significant, but maybe to prevent some rattling.
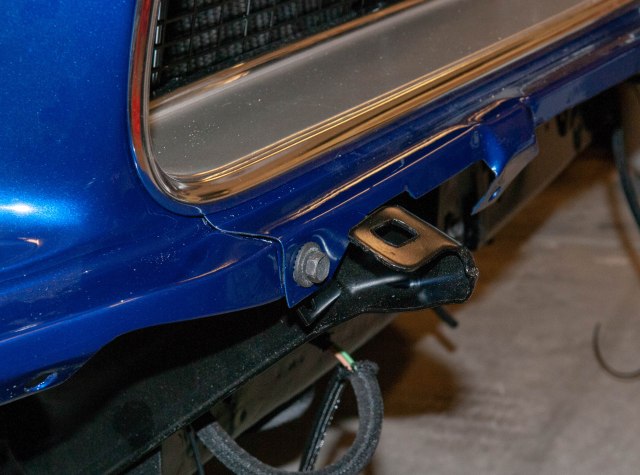
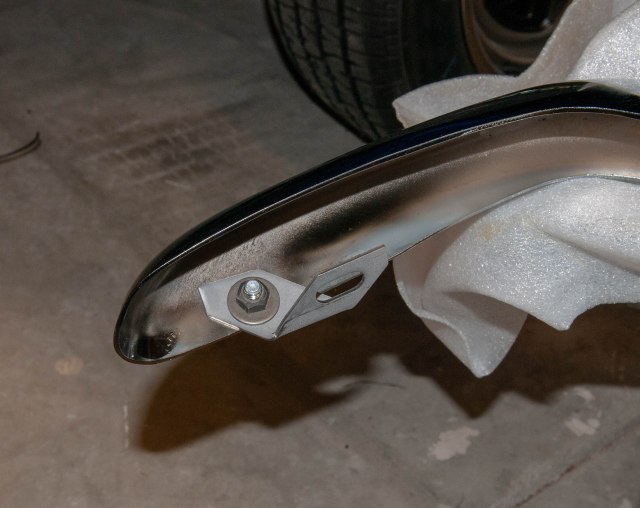
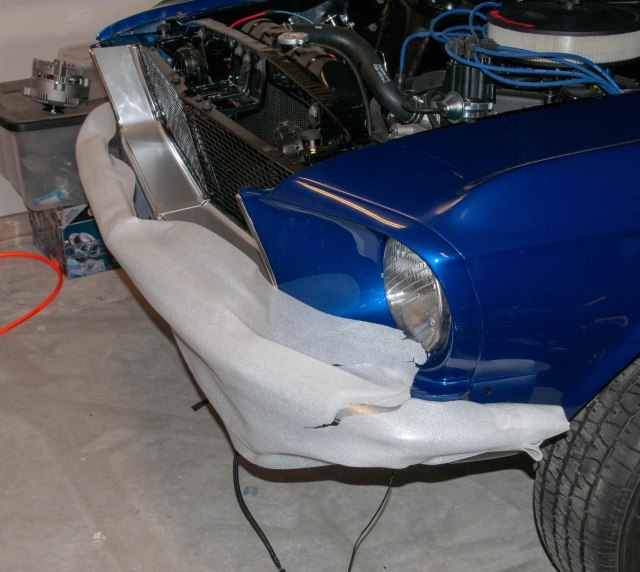
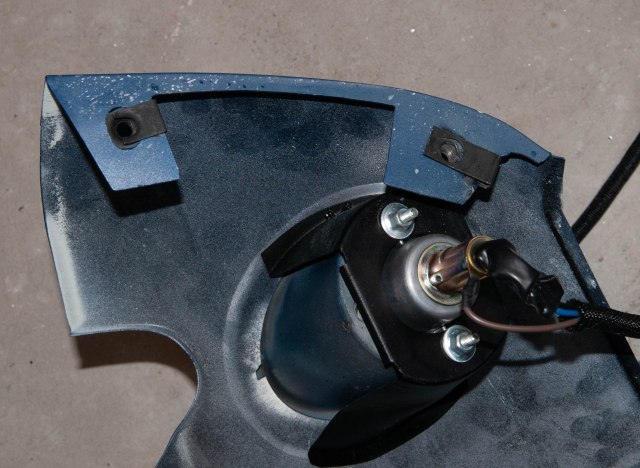
With the brackets ready, I moved on to prepping the bumper. There is a bracket that needs to be installed on either end. These use the small chrome bolts and the lock nut. The bracket will face towards the bumper and be parallel with the side. After installing it, I re-wrapped the bumper so this new sharp edge doesn’t gouge the side of my fender when I install it. Learning opportunity: this is the point when you should put the captive nut with the rubber face on it on this bracket, with the rubber side facing the car. Much easier than trying to get it set when its on the car.
Using the 4 chrome bolts, I loosely attached the bumper to the 4 mounting brackets. Everything is still loose at this point. One point here I had to look up was where the wavy washer goes. The Osborne book shows it goes between the bumper and the bracket with the washer and nut on the bottom of the bracket directly.
To start locking everything down, I put the side bolts in through the fender.
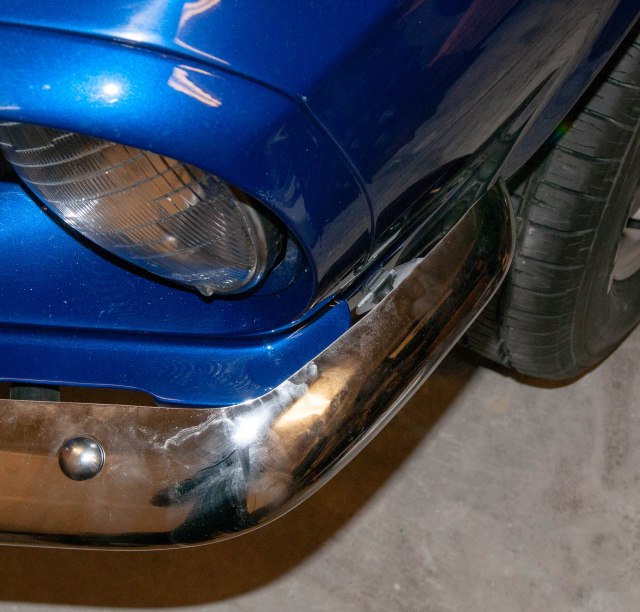
The last step is to tighten everything down. I have a slightly wider gap on the driver side, but the passenger side was over as far as it would go. The lines are pretty good across the front so I locked it in. I tightened the bumper bolts first, then the brackets on the frame itself. All that’s left of this step is a little cleaner to get the shipping oil off of it.
The valance only had one thing I needed to research, and it was probably insignificant. The mounting hardware consists of 4 7/16 bolts and 4 1/2 inch bolts with associated captive nuts. It wasn’t immediately clear which go where. In the end, I figured the half inch go on the sides and the smaller bolts go across the top.
Another point is that the captive nuts for the sides are on the valance, but across the top, they are on the stone guard and fender extensions. I put all of them in place before getting started.
For the sides, I ended up using one of the clip nuts from the kit and one from my spare parts for each side. I used a spare one because the kit provided shallow clips, but the valance had pretty deep flanges that wouldn’t allow the provided clip to reach the holes. Having extra half inch body bolts and clip nuts has proven to be really handy. I already assembled the lights a while ago, so I just have to hang it now.
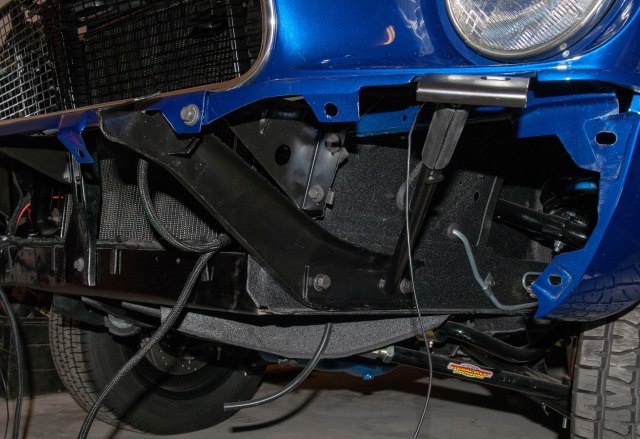
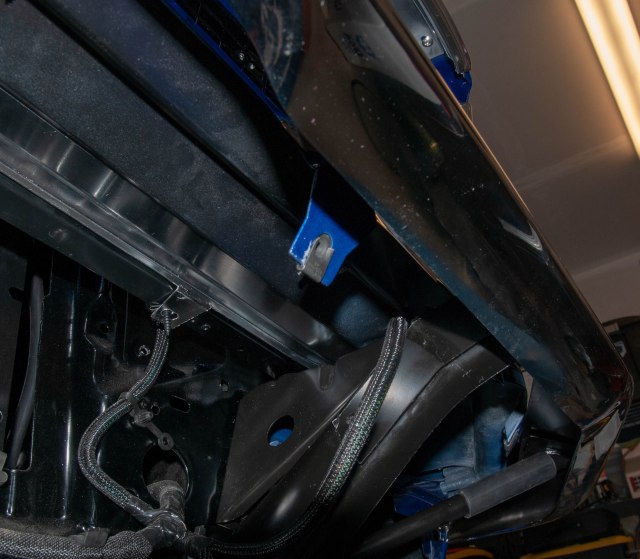
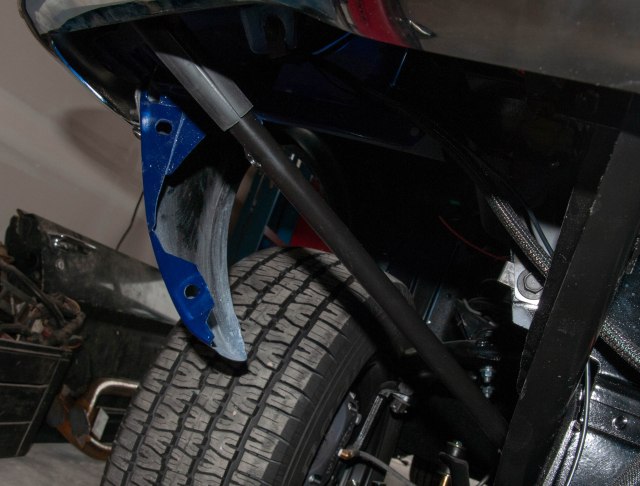
Here you can see the point where the half inch bolts go. They go in with the head facing back. You have to kind of get inside the wheel well in order to crank them down. These are also the key bolts to align the seams and make things look good. Pay attention to that as you tighten them down. I was able to get perfect lines on the driver side and pretty good on the passenger side. If I was going for perfect, I would have to take it off and open up one of the holes a little more, but its pretty good as is.
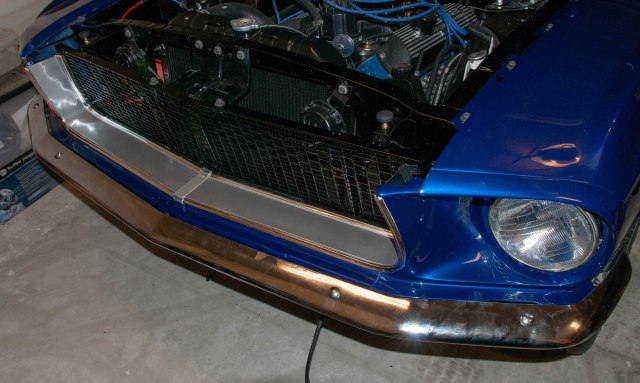
To mount it, I just put it up in place, with a blanket on the ground just in case, and hand threaded in the top 7/16th bolts. I then aligned the sides, tightening them down after both were looking like they would line up, then I tightened the top bolts. From here, I need to get the wiring worked out for the running lights, then tuck all the wires up and secure them in place.
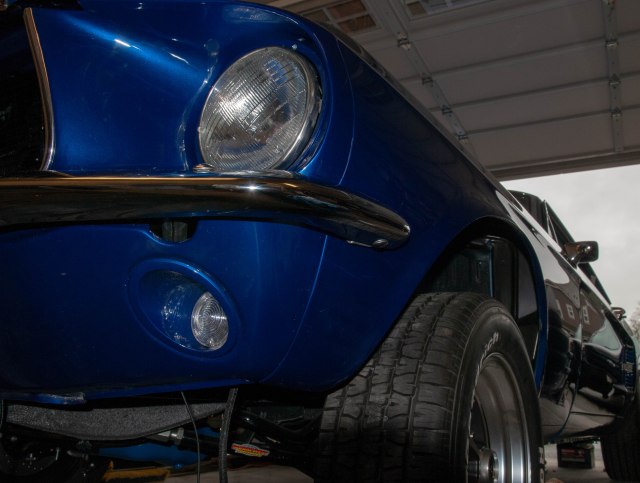
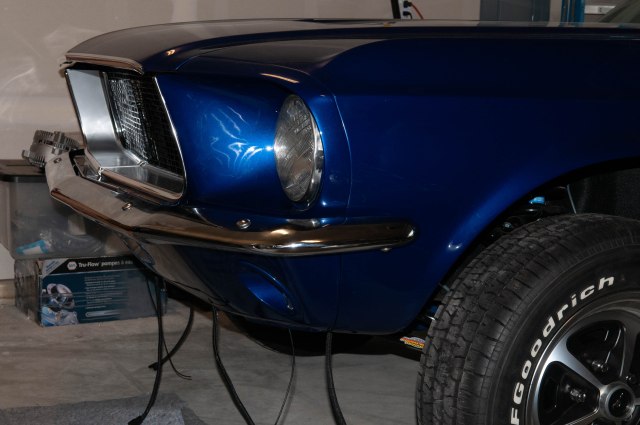
Not far behind that is doing something about that stance. Those springs have to go. At least now things are looking and feeling much more finished. Lots of little details still, but it’s feeling good.
Parts
- ARMS, Front Bumper, outer, pair
- ARM, FRONT BUMPER, INNER, RH
- ARM, FRONT BUMPER, INNER, LH
- MOUNTING KIT, FRONT BUMPER BRACKETS
- MOUNTING KIT, STONE DEFLECTOR
- BRACKET, FRONT BUMPER, TO FENDER, RH
- BRACKET, FRONT BUMPER, TO FENDER, LH
- MOUNTING KIT, BUMPER SIDE BRACKET
- MOUNTING KIT, FRONT VALANCE
- Front Bumper

This was one of the best how to’s I’ve read. Great step by step.
LikeLike
Nice post, thanks for sharing!
LikeLike